It’s a crazy time of year! You’re being pulled from pillar to post – whether it be to get the rest of the Christmas shopping done, to get to that work night out or to sit down with the family for Thanksgiving (Hello American readers!!). Well, luckily for you, I have hooked up with the amazing Rachele from the gorgeous Hunt For Fabulous blog to give you the best and easiest way to look family/party ready with minimal fuss! Yep, I’m doing my first ever blog collaboration – and I couldn’t think of anyone better to be doing it with!
If you haven’t visited Rachele’s blog – what are you waiting for?! Get your butt over there! Her gorgeous blog has an array of colorful pictures, featuring all sorts of lifestyle blogs which include lists, shout outs and beauty segments! She’s been one of my favorite bloggers since I started! Go check her out!
Rachele will be doing the beauty/make up half of this post, so click the link for the easiest and most gorgeous look from her, then come back to me for the simplest hair styling!
So, the aim of this season is maximum punch with minimal effort – my favorite! And, have I get a treat for you! Feel free to channel your inner Kylie Jenner for this!

I will be showing you how to achieve the straight look with the statement plait/braid over the middle parting! This style seems so time consuming – and I have to say that when I have this style for a day/night lots of people tell me it looks very intricate and difficult to do. But, actually it couldn’t be further from that! This is one of the simplest and quickest style that I do! I’ts bang on trend and its definitely a crowd pleaser!
This style has turned into one of my staples! I have a side fringe for my hair but when that doesn’t want to play ball I will always go for the middle plait/braid! The great thing about the look is that it’s very low maintenance – once it’s in you don’t have to do anything to it!
So, here are my simple steps to help achieve the look!

As you can see, I’ve gone for a straight style to partner with the statement braid. I find it so much easier to straighten my unruly tassels but if you would prefer to curl or add waves to yours first – go for it! The look will still look great!
So, now your hair is all straight and glossy, it’s time to get down to business. Get your hands clean and dry and have a clip, bobby pins and hair bands to hand!
Step 1: Part your hair down the middle.
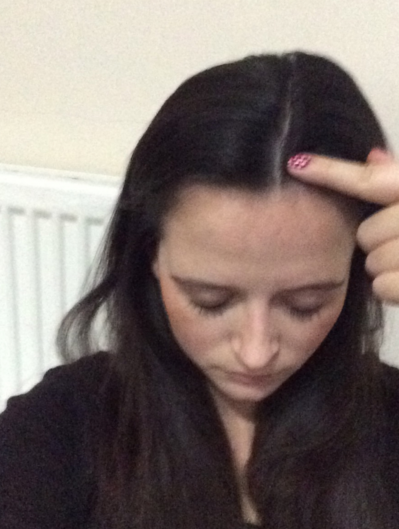
Keep the two sides of your hair as far apart as possible. This is modeled here:

Step 3. Section out the middle chunk of your hair – following the part very carefully in order for it to be even each side! Making sure to avoid a lop sided look!
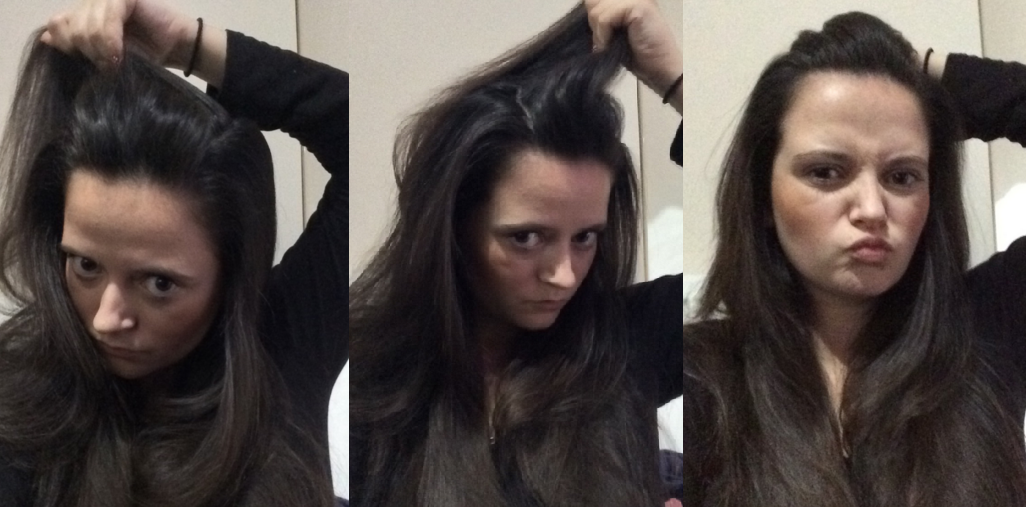
Step 4. Section this part of the hair away from the rest – I use a hair clip of a fairly large side so that it holds the rest of my hair easily.

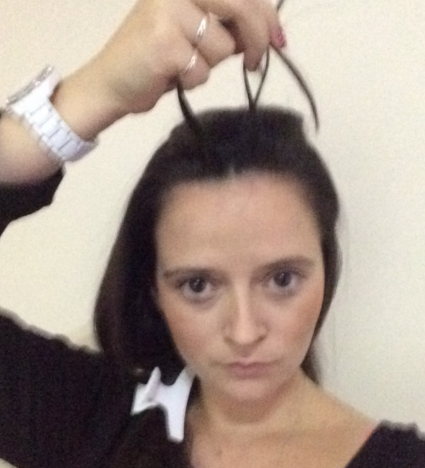
Step 5. With the central section of your hair, take three small segments of your hair. I find it easier to hold them up above my head so I can see how the plaiting/braiding is taking shape.
Now, you plait/braid. If you need a little refresher on how to do this click here.
This doesn’t take long at all! In no time at all your plait/braid will start to take shape.

Carry on with the braid until it reaches your crown and simply clip it firmly into places using bobby pins. If I do this on clean hair my pins can sometimes slide around so my tip is to clip one bobby pin into the hair then secure it with another over the top to make an X formation.
This is what your finished result should look like:

Finally, just pull your hair your hair out of its large clip and move into place around your shoulders.
And there you have it! The look is complete! How simple and quick was that!? An easy look achieved in less than half an hour!
If you haven’t already gone to visit Rachele’s half of this post – the make up and beauty half, get clicking here.
I would love for you guys to send me and/or tag me in pictures of you trying out this style!
Now, what are you waiting for!? Go and enjoy your Thanksgiving – go and stuff yourself with Turkey and all the trimmings and enjoy some family time!

Fab collab! Great tutorial will have to try and give it a go myself, (although I’m not too great with hair styling) haha. Love Hannah xx
LikeLike
This is such a simple tutorial!! Give it a go and send me pics, I’d love to see it!!
LikeLike
Ooh I like! Even better that it can pretty much go for most hair types and is heat free!
LikeLike
That was my aim!! The last thing you want to do before all that eating is get all hot and sticky!! Glad you liked it lovely!! Send me pics of you try it via Twitter!!
LikeLike
It’s impressive you are getting ideas from this piece of writing
and also from my discussion made at the place.
LikeLike
Does your blog possess a contact page? I’m having trouble locating it but,
I’d like to shoot an e-mail. I’ve got some suggestions to your blog you
may well be enthusiastic about hearing. In either case, great site
and I anticipate seeing it improve over time.
LikeLike
bookmarked!!, I really like your blog!
LikeLike
Aw, this was an exceptionally good post. Taking a few minutes
and actual effort to generate a good article
but what can I say I put things off a whole lot and don’t manage to get anything done.
LikeLike